REST Gateway Tutorial
Prerequisites
You will need following software tools to try out this tutorial. Simply download them from the specified URLs for now. The tutorial will guide you through the process of setting them up.
- WSO2 ESB 4.0.3 or higher (You can also use Synapse 2.1.0 instead. But the tutorial only provides instructions for WSO2 ESB.)
- WSO2 Application Server 5.1.0 or higher (You can use any Axis2 compatible application server here. But the tutorial only provides instructions for WSO2 Application Server.)
In addition to the above tools, your computer must be setup with the following infrastructure tools.
- JDK 1.6 or higher (Oracle JDK recommended)
- Python 2.7 or higher
- Apache Maven 3.0 or higher
The tutorial does not specify how to install these infrastructure software. Tutorial assumes that they are already installed and available for use.
Setting Up the Backend Server
We are going to host our sample order management service in WSO2 Application Server. Therefore lets start by setting up the Application Server.
Simply extract the downloaded zip archive to install the WSO2 Application Server.
unzip wso2as-5.1.0.zipGo into the
bindirectory of the installation and execute thewso2serverstartup script to start the server.Unix/Linux: sh wso2server.sh Windows: wso2server.bat
Wait for the server to finish initialization. This could take a few seconds depending on how fast your machine is.
Now that the server is up and running, lets deploy the order management service in it.
Use Apache Maven to build the OrderManagementService.aar artifact. Simply go into to the
server/OrderManagementServicedirectory of this sample package and run the following command. This will create the required artifact in theserver/OrderManagementService/targetdirectory.mvn clean installLaunch your web browser and navigate to the WSO2 Application Server management console. This is available at
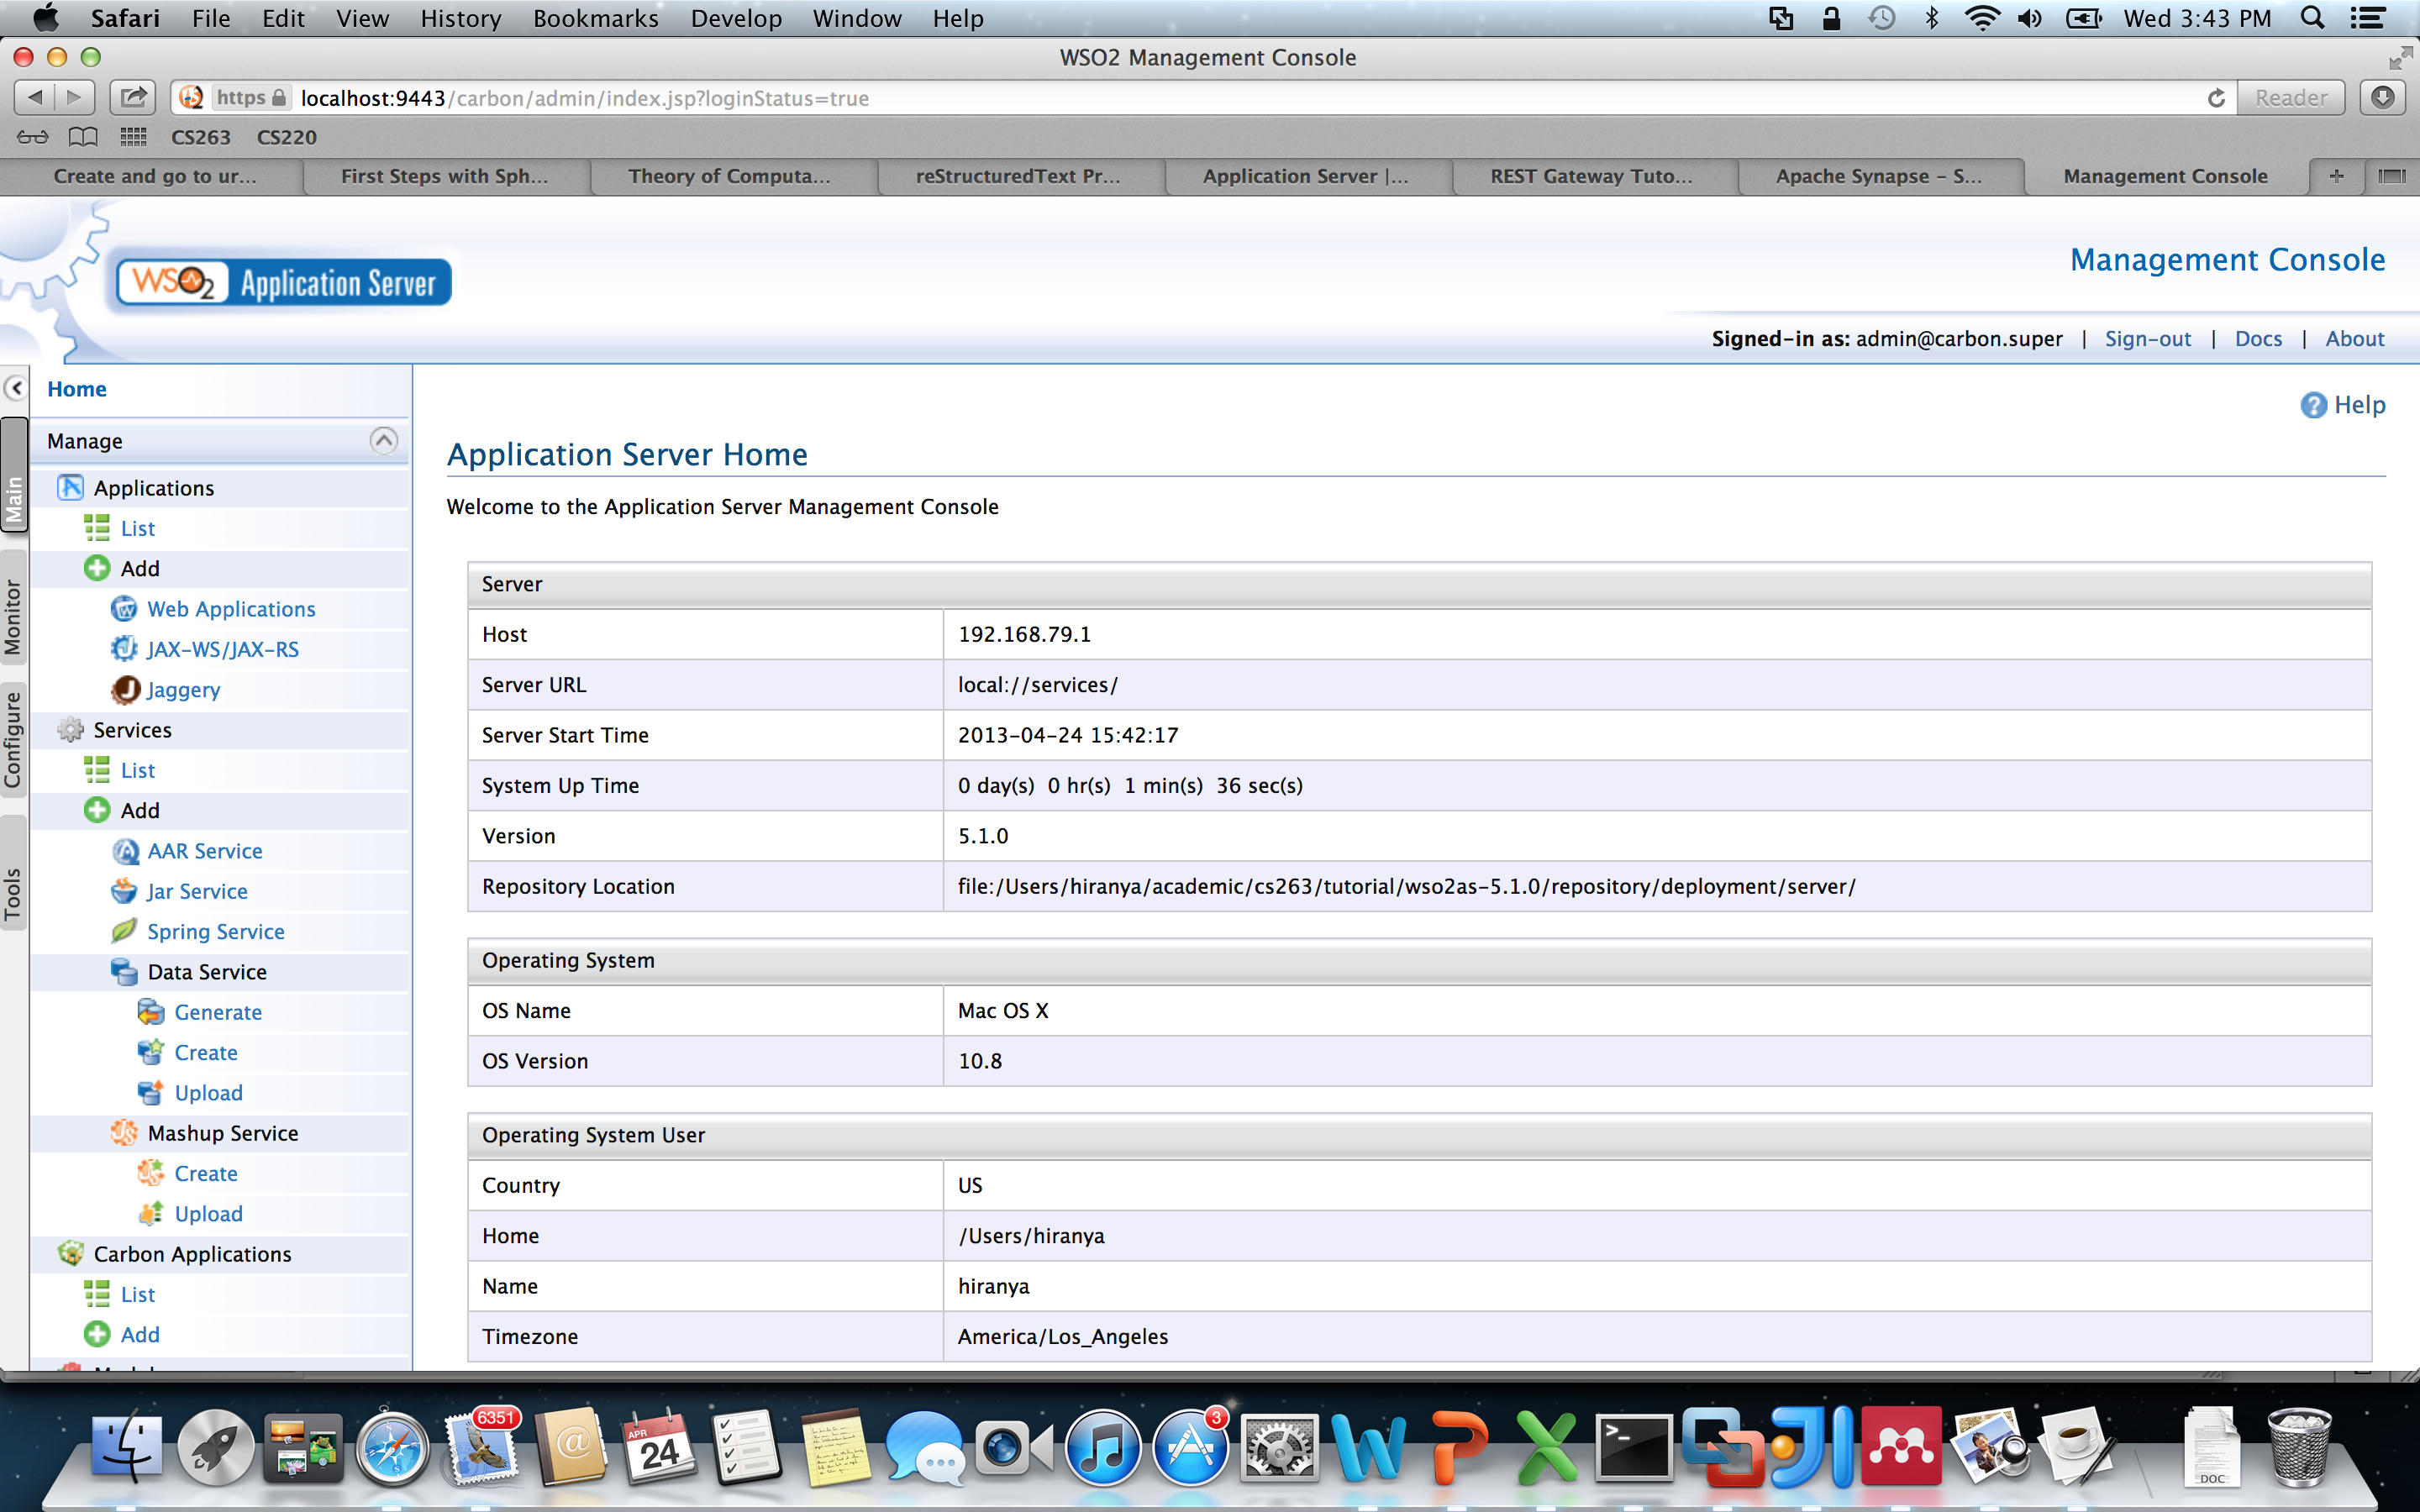
https://localhost:9443/carbon.Sign in to the console using default administrator credentials.
Username: admin
Password: admin
You are now in the home page of the Application Server’s management console.
Click on the
Manage > Services > Add > AAR Serviceoption in the main menu.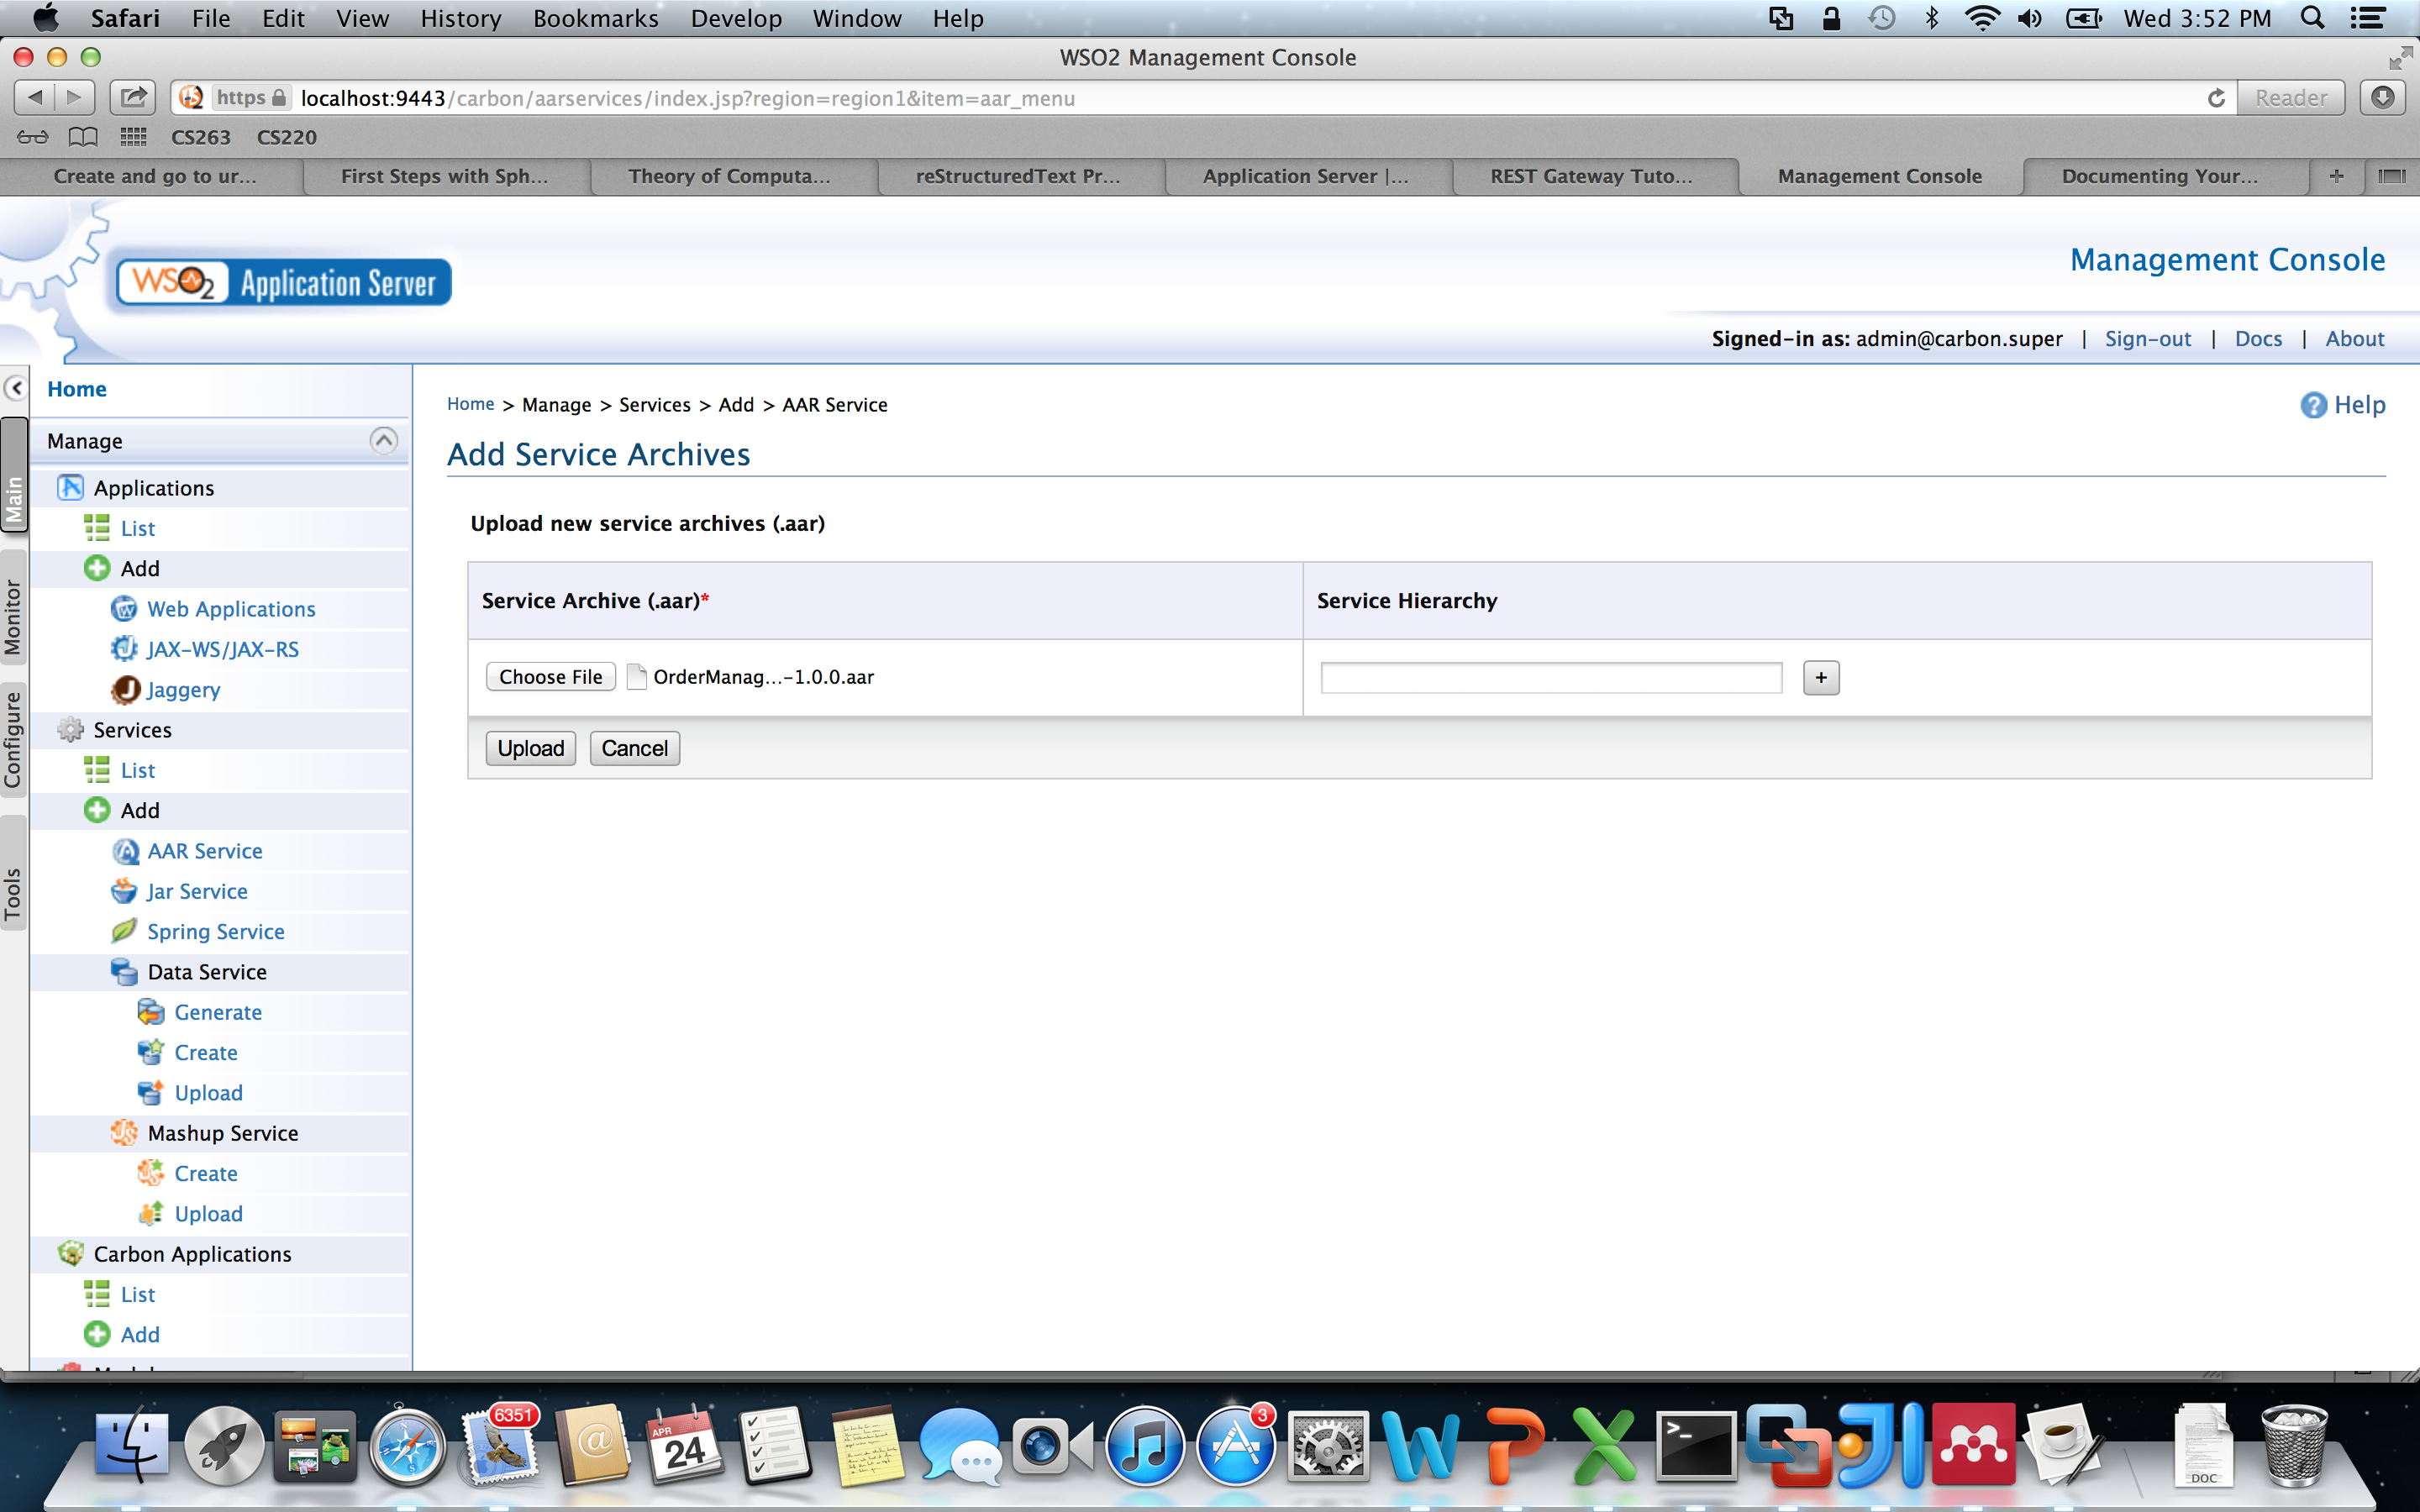
Browse and select the OrderManagementService.aar file and click on
Uploadto upload the artifact. Service deployment will take a few seconds. Click/refresh the service listing page (underManage > Services > Listin the main menu) and you will see the OrderManagementService listed there. Feel free click on it and browse through the various options available. For instance you should be able to see the WSDLs of the service and even invoke it online using the Try-It tool built into the management console. The service endpoint will behttp://localhost:9763/services/OrderManagementService.
Setting Up the ESB
Now we have our backend SOAP service up and running. So lets get started with the ESB (our REST gateway).
Extract the downloaded WSO2 ESB archive to install it.
unzip wso2esb-4.0.3.zip
Before we can start the server, we need to do some configuration changes. This is because by default WSO2 ESB is configured to use the same set of ports as WSO2 Application Server. Since we are starting both servers in the same machine, we need to change the ESB ports before we can actually start it. To do this go into the
repository/confdirectory of the ESB installation and open thecarbon.xmlfile using a text editor. Scroll down to thePortsconfiguration section and change theOffsetvalue to1. This will increment all the port numbers used by the ESB by 1.<Ports> <!-- Ports offset. This entry will set the value of the ports defined below to the define value + Offset. e.g. Offset=2 and HTTPS port=9443 will set the effective HTTPS port to 9445 --> <Offset>1</Offset> ...Now we need to deploy our REST gateway configuration into the ESB. Go the
repository/deployment/server/synapse-configs/defaultdirectory of the ESB and delete everything already available in there (files as well as folders). Then copy the contents of theesb/synapse-configdirectory of this sample package into thedefaultdirectory of the ESB.cd esb_home/repository/deployment/server/synapse-config/default rm -rf * cp -r /path/to/sample/esb/synapse-config/* .
[Optional Step] It is also advisable to bind the ESB HTTP interface to a proper IP address, before starting the ESB. To do this open the
repository/conf/axis2.xmlfile in a text editor and look for the HTTPtransportReceiverconfiguration. Uncomment thebind-addressparameter and set its value to the IP address of the machine. Or at least set it to the loop back address.<transportReceiver name="http" class="org.apache.synapse.transport.nhttp.HttpCoreNIOListener"> <parameter name="port" locked="false">8280</parameter> <parameter name="non-blocking" locked="false">true</parameter> <parameter name="bind-address" locked="false">127.0.0.1</parameter> <!--parameter name="WSDLEPRPrefix" locked="false">https://apachehost:port/somepath</parameter--> <parameter name="httpGetProcessor" locked="false">org.wso2.carbon.transport.nhttp.api.NHttpGetProcessor</parameter> <!--<parameter name="priorityConfigFile" locked="false">location of priority configuration file</parameter>--> </transportReceiver>We are all set now. Head over to the
bindirectory of the ESB and start it up.Unix/Linux: sh wso2server.sh Windows: wso2server.bat
Running the REST Client
In this section we will look at how to run a REST client against our REST gateway and consume the backend SOAP service. For an explanation on how the gateway is configured please refer REST Gateway Implementation.
All the sample client scripts and example data files are available in the cleint directory of this sample package.
We will start by placing a few orders in our order management system. Run the place_order.py script to make a HTTP POST request to the gateway and place an order.
python place_order.py -d "Cafe Misto"The script will display the exact HTTP request and response being exchanged. If all goes well the REST gateway will respond with a HTTP
201 Createdmessage.send: 'POST /order HTTP/1.1\r\nHost: 127.0.0.1:8281\r\nAccept-Encoding: identity\r\nContent-Length: 107\r\nContent-type: application/xml\r\n\r\n<order xmlns="http://starbucks.example.org"><drink>Cafe Misto</drink></order>' reply: 'HTTP/1.1 201 Created\r\n' header: Content-Type: application/xml; charset=UTF-8 header: Location: http://127.0.0.1:8281/order/a35464d3-1049-4bba-a001-df534c299bdb header: Server: WSO2 Carbon Server header: Date: Thu, 25 Apr 2013 01:54:26 GMT header: Transfer-Encoding: chunked response: <order xmlns="http://ws.apache.org/ns/synapse"><drink>Cafe Misto</drink><cost>7.98</cost><next xmlns="http://example.org/state-machine" rel="http://127.0.0.1:8281/payment" type="application/xml" uri="http://127.0.0.1:8281/payment/order/a35464d3-1049-4bba-a001-df534c299bdb" /></order> Order submitted successfully... Your order can be reviewed at: http://127.0.0.1:8281/order/a35464d3-1049-4bba-a001-df534c299bdbGo ahead and place several orders by repeatedly executing the
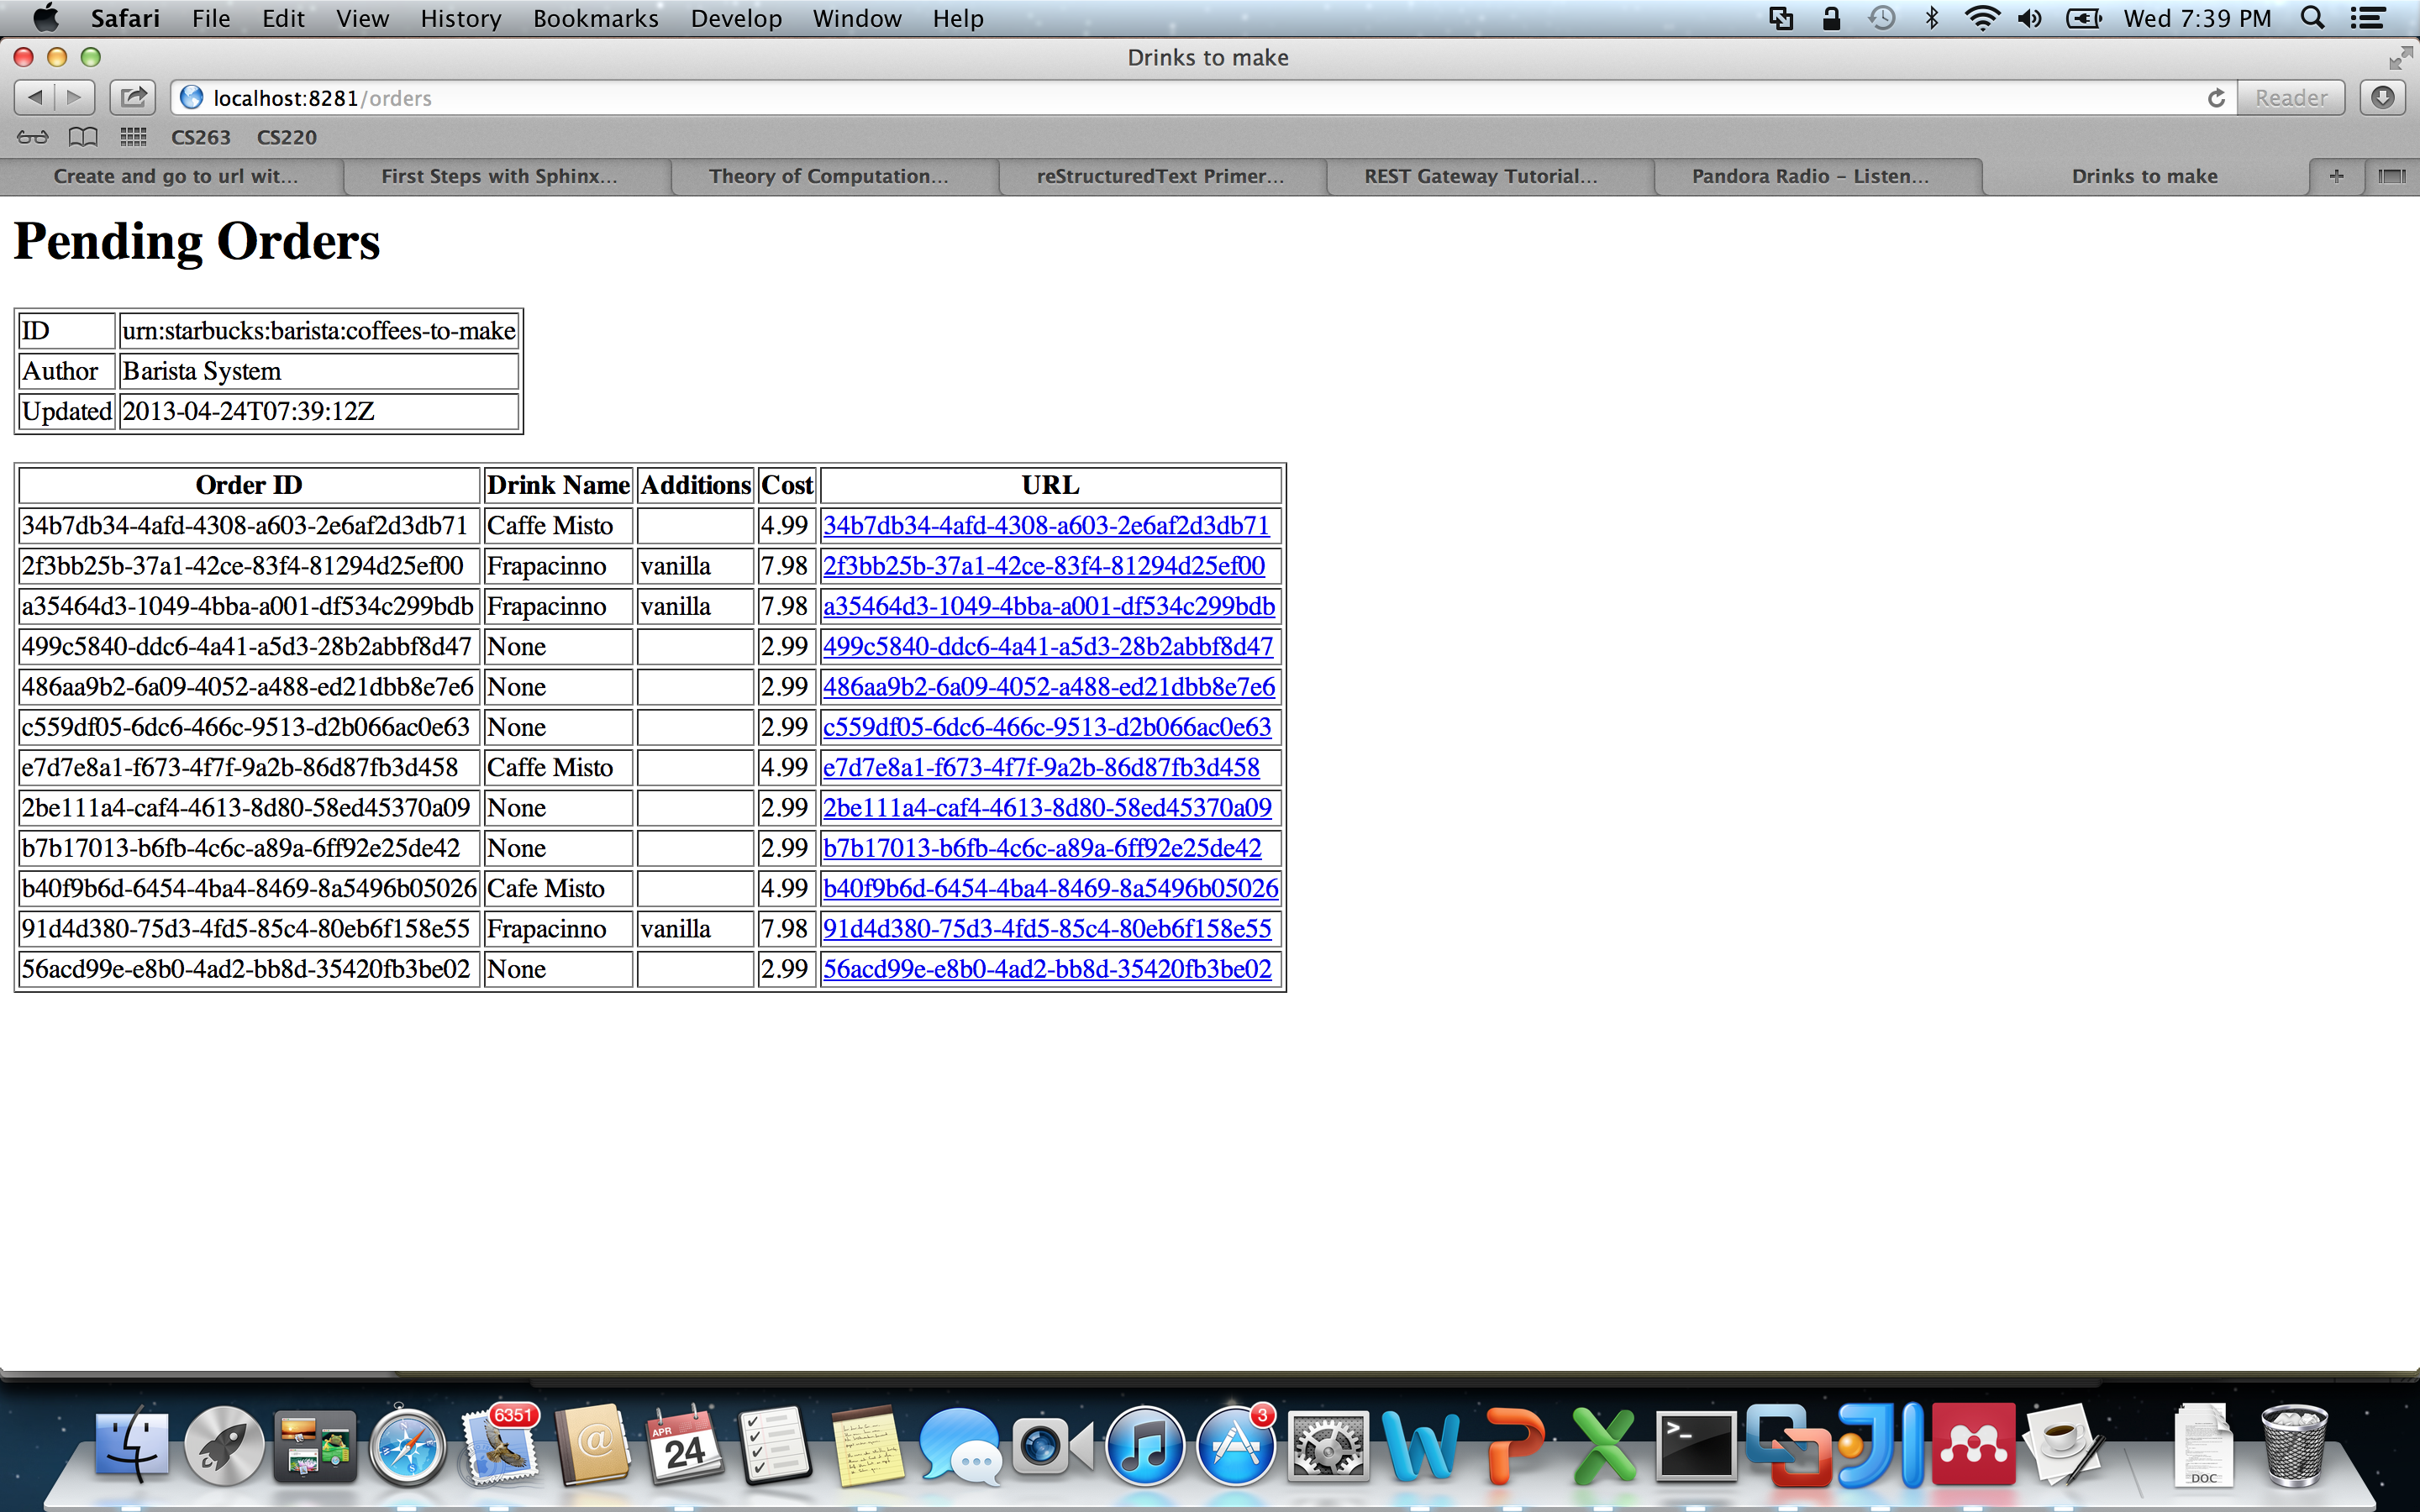
place_orders.py. Use the-doption to change the name of the drink being ordered.Once you have placed a few orders, perform a GET request on the gateway to retrieve a complete list of all orders. This can be done by executing the
get_all_orders.pyscript. When executed the REST gateway will respond with a live Atom feed of all the pending orders.python get_all_orders.pyOur backend SOAP service assigns a unique identifier to each order submitted. This identifier can be used to retrieve a specific order through the REST gateway. Extract any order ID value from the output of the Atom feed of the
get_all_orders.py. Order ID values are embedded into almost all the URLs found in the Atom feed. For instance in the Atom feed you will see URLs likehttp://127.0.0.1:8281/payment/order/a35464d3-1049-4bba-a001-df534c299bdb. The section after the last/character, that isa35464d3-1049-4bba-a001-df534c299bdbis an order ID. Run theget_order.pyscript as follows to retrieve a single order.python get_order.py -o a35464d3-1049-4bba-a001-df534c299bdbThe order ID can also be used to update a specific order. This is done by making a HTTP PUT request on the remote order resource. Use the
update_order.pyas follows to change the drink name or add some flavor to your drink order.python update_order.py -o a35464d3-1049-4bba-a001-df534c299bdb -d Latte -a VanillaYou can use the order ID to delete/cancel orders too. This is done via a HTTP DELETE request on the REST gateway. Use the
delete_order.pyas follows to try this out.python delete_order.py -o a35464d3-1049-4bba-a001-df534c299bdbTry running
get_order.pyon a deleted order ID. You will notice that the gateway responds with a HTTP404 Not Foundresponse.
Testing Content Negotiation
Our REST gateway configuration in Synapse/ESB is capable of performing HTTP content negotiation. That is if the client indicates which content type it prefers for the response messages, the gateway can attempt to generate the response messages in that specified format. Client can indicate its preferred contnt type by sending a media type name in the HTTP Accept header of the request. Synapse has been configured to look at this header value and send the response in the client preferred format. To try this out, run the get_all_orders.py as follows with the -f option.
python get_all_orders.py -f "application/xml"
python get_all_orders.py -f "application/json"
python get_all_orders.py -f "text/html"
Notice how the Synapse will change the response format depending on a media type specified by the client. You can also try this out by browsing to the URL http://localhost:8281/orders using a web browser. Most web browsers send Accept: text/html header, so Synapse will send a valid HTML output that can be rendered on a browser.
Internet Explorer doesn’t seem to be sending this header, so in that case Synapse defaults to Atom as the response format. This triggers Internet Explorer to launch its built-in Atom feed reader.

Tracing Messages
Use a tool like TCPMon to trace the messages between client and ESB and ESB and Application Server. This will give a clear idea of the actual content transformations performed by the ESB on each request-response invocation.